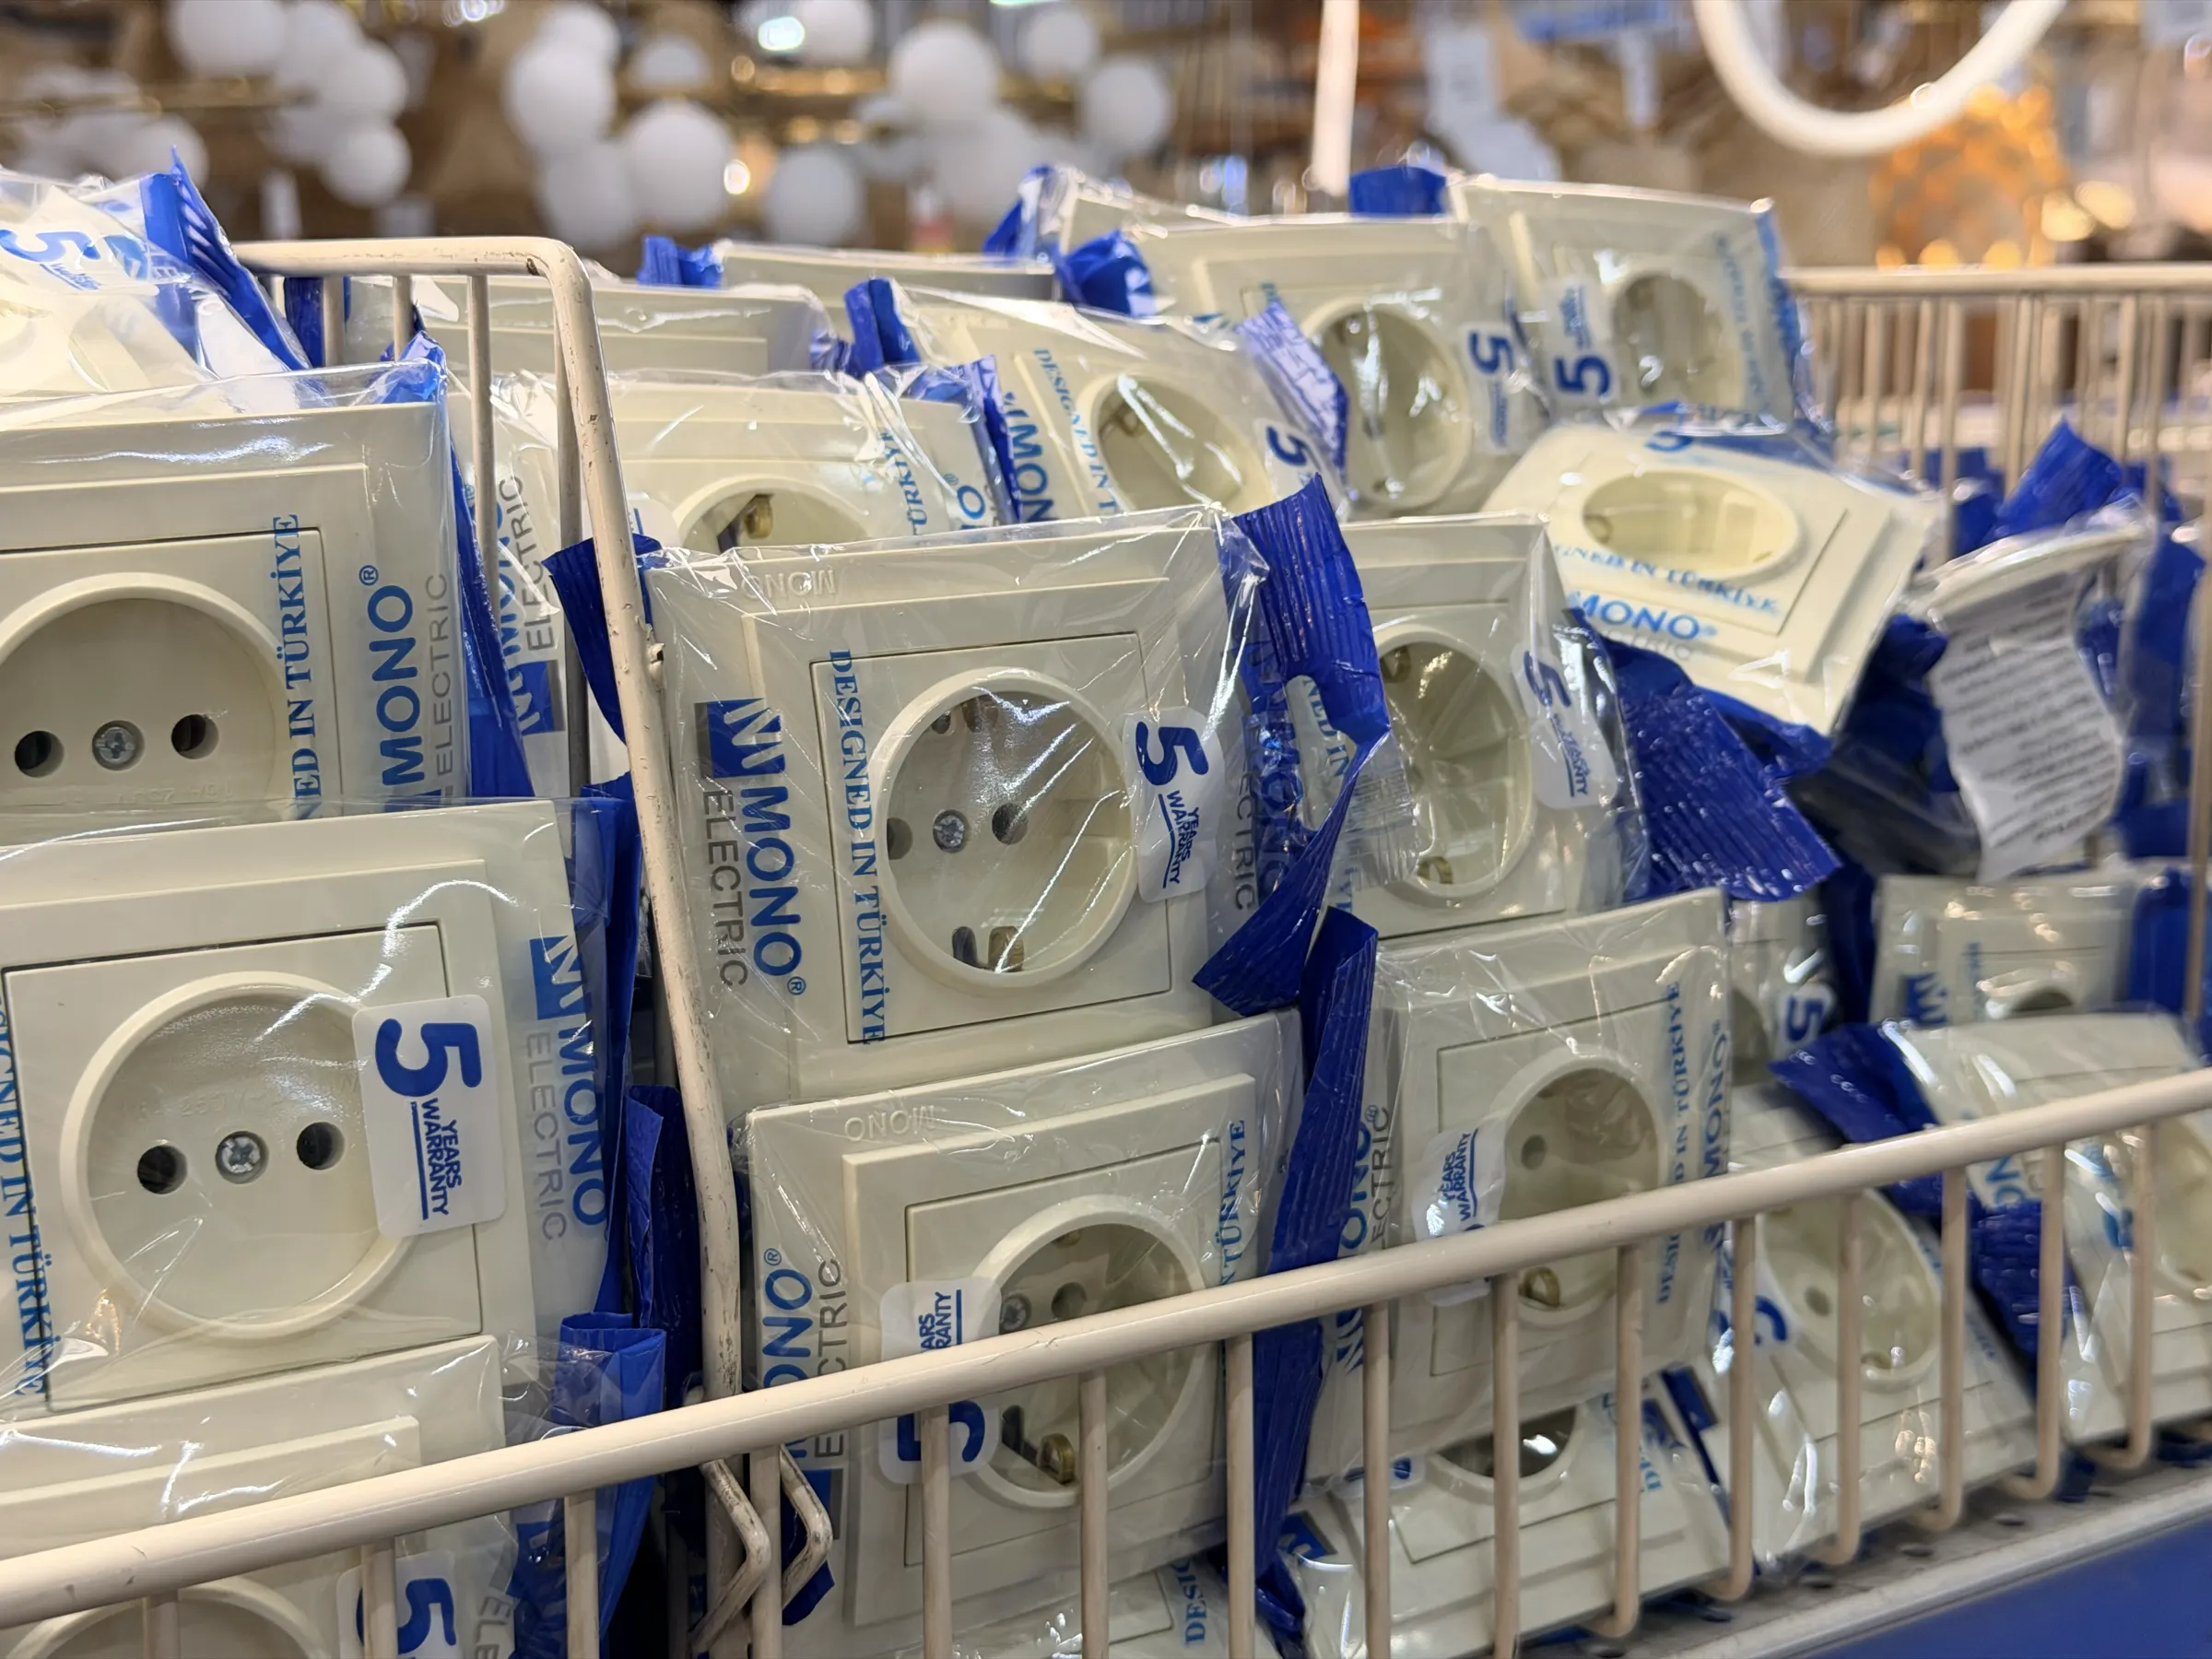

Electrics get covered in plaster, hidden behind drywall, and then can't be changed without destroying the finish. A mistake will surface in two or three years: the air conditioner trips, the socket near the water heater sparks. In a white-frame finish we tear out the developer's wiring and redo it: cross-section is too thin, locations are inconvenient, joints are twisted splices. We check the grounding before starting. Cable in the wall — only in corrugated conduit. At the apartment entrance — a voltage stabilizer. On the bathroom and the water heater — a 30 mA RCD. And no, "we'll get away without an RCD" doesn't fly. Balcony — only weatherproof sockets. Don't economise on the consumer unit: a Level Up client had a cheap breaker fry a Mac and a two-door fridge worth 12 000 GEL. A normal consumer unit costs 700–900.
Preparation: wiring and grounding
Why electrics are hard to change later
Electrics in an apartment are wiring along the walls and ceiling, junction boxes, points for sockets and switches, the consumer unit with breakers at the entrance. All of it gets packed inside the structures. Cable goes into chases in brick or concrete, plaster on top. On the ceiling, wires hide behind drywall. Boxes are built into niches and closed by the final finish.
Two to three weeks after laying the cable, the walls are already plastered, filled, painted or wallpapered. On the floor goes screed, then tile or laminate. Access to the wiring is closed. To change or add a cable — open up the walls, cut new chases, restore plaster, paint. A week of work. Dust throughout the apartment.
So we plan electrics once and with margin. Mistakes at the wiring stage surface in a year or two, when the furniture and appliances are already in. A Level Up site supervisor checks with the client at the start: where the bed is, where the TV, where the washer, where the fridge, where the air conditioner will sit. So sockets and lines end up where they're needed, not in the wall behind the wardrobe.
Developer's electrics: why it's better to tear them out
Most Batumi new builds are sold with a white-frame finish. The walls are plastered, there's a meter and a consumer unit, basic wiring runs in the walls, points for sockets and switches are routed. On paper — ready for the final finish.
In practice, the electrics are assembled at the minimum. Cable cross-section is thin, just enough to pass the standard. Points are placed by a typical layout, with no reference to future furniture — a socket can land right behind the head of the bed or in the middle of a wall where a wardrobe will go. Switches end up where it's not convenient to enter.
When we open such walls to move points, in the boxes we regularly find twisted splices and crooked joints. A twisted splice under plaster is a fire, especially if the line carries a serious load. The wiring isn't designed for modern appliances: an induction cooktop, an inverter air conditioner, a washing machine and a water heater together quickly overheat thin cable.
So in a white-frame finish we tear out the developer's electrics and do new ones. It's easier to walk away from this starting position than to pile protections around problematic wiring later. The old cable goes, chases are cut for the new scheme, the cable runs at the right cross-section and in corrugated conduit, joints are made on terminal blocks in junction boxes with access.
If the apartment already has a finished renovation and you can't touch the walls — that's a different conversation. We work pointwise: change the consumer unit, add separate lines to problem appliances, install RCDs and a stabilizer. But in a new build with bare walls, redoing it all is cheaper and calmer than patching someone else's work.
Grounding: check before the start
Before any electrical work, we check whether the apartment has grounding. Without it, an RCD works at half-strength, and metal casings of appliances — the water heater, the washer, the oven — become dangerous in a fault.
In old Batumi buildings there's no grounding. The riser is two-wire, phase and neutral, no separate earth conductor. In new builds the developer brings the earth in more often, but not always: sometimes the conductor is brought to the consumer unit but isn't run along the lines. Sometimes it's the other way — the terminals are labelled, but there's no real connection to the building's circuit.
The check is simple. The electrician measures the resistance on the earth busbar of the consumer unit relative to neutral and phase. Readings are normal — we work on. No earth — two options: pull it from the common riser through the management company, or, if the building doesn't allow for it, fence in protection by other means and document it in the project. The Level Up site supervisor is for the first option: without proper grounding, electrical safety in Batumi noticeably drops.
Sockets and lines
How many sockets you actually need
The rule is simple: install as many sockets as possible. Not "as many as in the typical project," but enough that five years into living there extension cords aren't lying across the floor.
Appliances pile up by themselves in an apartment. Laptop, TV, robot vacuum with its base, humidifier in the kid's room, charger for the e-scooter, plant lamp. Each needs its own point. Few sockets — out come the tees and extensions: aesthetics suffer and the load is distributed crookedly.
Headroom on sockets costs pennies. An extra point in the living room is 15 GEL of cable plus the chase work. The same socket two years after the renovation is an opened wall, dust, a plasterer, a painter. In our experience, in a normal-sized living room, after a year of living the client wants 4–5 more points: for a floor lamp, for charging by the sofa, for a speaker, for a Christmas tree in winter. Better to put them in from the start.
Marking sockets on the walls before chasing
Before the electrician starts chasing, we walk through every room with the client and draw points right on the walls with a marker. Sockets, switches, lines for sconces, TV outlets and accent lighting. Each point gets a circle and a label.
Why. First, you can see that there are enough sockets and that they're where they need to be. On a paper plan it's easy to miss that the point at the head of the bed is hidden by a nightstand or that the switch will end up behind an open door. On the wall it's visible immediately.
Second, it's instantly clear where the heavy consumers will go. Such sockets get a special mark: "separate line." A signal to the foreman and the electrician — pull a dedicated wire from the consumer unit here, not the common cable from the box. The Level Up site supervisor photographs the marked walls. Insurance against the "the electrician chased it, then everyone forgot" story.
After marking, we count cable length, the number of back boxes, breakers and RCDs in the consumer unit. That's the final figure. After chasing begins, edits get expensive.
Sockets in the kitchen and by the bed
Two places where there are never enough sockets — the kitchen and the bedroom.
Kitchen. Sockets go on two levels. Lower — behind the appliances: fridge, dishwasher, oven, cooktop, washer (if it's in the kitchen). These hide behind the cabinets. Upper — above the countertop, in the backsplash. This is where the kettle, toaster, coffee machine, blender, multicooker, accent lighting plug in. Count how many devices actually sit on the counter and add 2–3 more sockets. Five or six in the backsplash is the minimum.
Bedroom. By the bed and at floor level. At the head — at the level of the nightstand, two on each side: lamp and phone charger. If someone in the bedroom works — another pair for the laptop. By the floor — robot vacuum, humidifier, in winter a heater. Separately — a socket for the TV on the wall and one for a media player behind it. If the TV will be wall-mounted, we hide the socket behind the body so the plug doesn't stick out.
The air conditioner in the room — its own socket and its own line from the consumer unit. More on that below. The socket for the AC is brought up high, near the ceiling, next to where the indoor unit will go. The plug hides behind the unit body and isn't visible from the outside.
Separate lines for high-consumption appliances
Some appliances draw enough that they can't be put on a shared socket line. Put an air conditioner and an oven on one group — the breaker will trip during simultaneous use. Or, worse, the cable will start heating up in the wall.
The minimum for which we run a separate line from the consumer unit:
- air conditioner — a dedicated cable for each indoor unit;
- built-in oven — a dedicated cable and breaker;
- washing machine — its own line, preferably through an RCD;
- water heater — its own line, mandatorily through a 30 mA RCD;
- cooktop, especially induction — its own cable of higher cross-section and its own breaker.
Each such device is its own "cable plus breaker" pair in the consumer unit. On the wiring that's 5–6 additional lines and the same number of additional breakers. Not a precaution — a load requirement. An oven and a washer at the same time on one socket group of 16 amps shouldn't be running.
Level Up site supervisors lay separate lines in already at the marking stage. The client shows where the major appliances will sit, the foreman counts the groups, the electrician runs separate cables from the consumer unit. More expensive than common wiring. But with a properly assembled consumer unit, the risk of cable overheating and fire drops manyfold.
Corrugated conduit under plaster and tile
Any cable that goes into a chase under plaster or under tile we lay in corrugated conduit. Not the cable straight into the wall, but the cable inside the conduit — and the conduit into the chase.
Why. Conduit protects the cable from mechanical damage during plastering work: a trowel, a profile, a nail from a hanger won't damage the conductor. It protects from moisture if the neighbours upstairs leak. And the main thing — through conduit you can later pull a new cable without opening the walls.
The cable in the conduit should lie freely. Not pinched, no sharp bends, not under tension. Then in 10 years, if the conductor gets damaged or you want to install something more powerful, the cable is pulled out and a new one is pulled in. Disconnect at the junction box, tie the new one to the old, pull through.
If you lay it directly without conduit or use a tight conduit — replacing the wire is only possible by opening the finish. 2–3 days of work just to restore plaster and paint. Conduit costs pennies. The cheapest insurance solution in electrics.
For cable under screed and under tile — same thing. In the bathroom, to the underfloor heating or to the points by the toilet — only in conduit. In the kitchen behind the backsplash — conduit up to the junction box.
Protection from the grid and humidity
Voltage stabilizer at the entrance — mandatory in Batumi
Voltage spikes in Batumi are a regular thing. Especially in the older neighbourhoods near the Old Town and in the upper areas, where the grids are loaded. In peak season hotels and apartments mass-switch on air conditioners — grid sags. In winter residents fire up electric heaters — same story. Sometimes voltage drops to 180 volts, sometimes shoots above 240.
Any such spike is a hit on the appliances. A fridge with a compressor, an inverter air conditioner, a washer with an electronic board, a water heater with an electronic thermostat — all of this is designed for a stable 220 volts. On spikes, compressors and boards fail.
A voltage stabilizer at the apartment's input is a mandatory line in the estimate. It sits after the meter, before the consumer unit, and holds voltage in spec under any fluctuations. We take a powerful one, sized for the whole apartment's load at once — TV, fridge, AC, water heater.
Without a stabilizer, the saving looks like this: saved on one piece of hardware, lost the fridge and the AC in one strong spike. The Level Up site supervisor installs a stabilizer by default. Client refuses — we put it in writing, so there's no later "but why didn't you warn me." A voltage relay instead of a stabilizer in principle works, but it protects on a different principle: it doesn't level out the grid, it simply disconnects the apartment when voltage goes outside thresholds. Against severe sags that's not enough.
RCD on the bathroom and the water heater
An RCD is a residual-current device. It watches whether current is leaking out of the working circuit and, on a leak, cuts the line in fractions of a second. A leak is when phase ends up on the metal casing of the water heater, on a pipe, on water in the washer. If at that moment a person touches the appliance, current goes through them to ground. An RCD manages to cut power before the person gets a serious shock.
The rating for wet zones is 30 mA. At that value the device trips on a leak that's dangerous to a person. Not 100 mA, not "common across the apartment," but exactly 30 mA on specific lines: bathroom (light, sockets, water heater, washer, underfloor heating), separately the water heater if it's on its own group.
Moisture in Batumi gets in everywhere. High humidity year-round, in rainy season the walls get damp, in shoulder season weak ventilation leaves water on the bathroom ceilings. Any micro-fault to a casing is a potential leak. Without a 30 mA RCD, the person finds out about the leak when they grab the tap with a wet hand. And no, "we'll get away without an RCD" doesn't fly.
Local crews don't install RCDs on the bathroom and the water heater. Extra line in the estimate. Argument is one: "it works as is." But an RCD is 50–80 GEL on top and an extra module in the consumer unit. The Level Up site supervisor doesn't look at this with enthusiasm. It's not a "comfort option," it's basic safety. On the bathroom and the water heater, we always install an RCD. The crew hasn't shown an RCD in the estimate — ask why.
Sockets on the balcony: only weatherproof
A balcony in Batumi is a separate risk zone. In a storm rain comes horizontally. On facades with open balconies water flies in onto the floor, the walls, any points. In winter the wind off the sea carries salt mist that settles on metal and works as an electrolyte. The contacts of an ordinary socket made for a living room oxidise in such conditions in six months to a year.
So sockets and switches on the balcony are installed only in weatherproof versions. Sealed casing, cover, designed for outdoors. An ordinary indoor socket from a living room lives one season on a balcony: water gets inside, contacts oxidise, sparks fly, in the worst case it shorts out.
If the balcony is glazed and insulated to the full programme, turned into part of the living room with underfloor heating, heating and sealed windows — that's another story. There you can have ordinary sockets. But if the balcony stays a balcony, with an outdoor side — only weatherproof. And no extension cords run from the room through a window crack. That's the first candidate for a fire in the next storm.
Case: a 700 GEL consumer unit versus a Mac and a fridge worth 12 000 GEL
A story from my practice at Level Up, set right here in Batumi. New-build apartment, white-frame finish, the crew was redoing the electrics. The client decided to economise on the consumer unit's contents — bought breakers cheaper than those in the estimate. The difference was about 300 GEL.
A few months after move-in there was a spike. The cheap breaker didn't trip. The pulse went down the line into the apartment. The Mac in the living room and the two-door fridge in the kitchen burned out. The Mac was about 6 000 GEL, the fridge about 6 000. Total losses — about 12 000.
A normal consumer unit with breakers and RCDs that hold spikes and leaks costs 700–900 GEL. That's the protection package for the whole apartment. Saving 300 GEL on this item turned into a 12 000 loss — that's 13 times the cost of the consumer unit itself.
| Item | Cost, GEL |
|---|---|
| Consumer unit with normal breakers | 700–900 |
| Burned Mac + two-door fridge | ~12 000 |
| Saving on the consumer unit | ~300 |
| Real loss to the client | ~12 000 |
The conclusion is simple. On the consumer unit's contents we don't economise. Cable and back boxes — there you can tune the budget within reasonable limits. The consumer unit is the last line of protection for the apartment from the grid. On it sits all the equipment you'll bring in over the next 10 years. 200–300 GEL of difference between a normal and a cheap breaker is a sum it's pointless to begrudge.
FAQ
Takeaways
- Electrics are closed up by the finish for 10 years. Wiring mistakes are fixed only by opening the walls — so we do it once and with margin.
- In a white-frame finish, the developer's wiring is torn out. Thin cross-section, twisted splices, generic socket layout with no furniture in mind.
- Grounding — check before starting. In old buildings it's absent; in new builds it's sometimes brought only to the consumer unit.
- Install as many sockets as possible. Mark with a marker before chasing; after work begins, edits get expensive.
- Air conditioner, oven, washer, water heater, induction cooktop — each its own line from the consumer unit with its own breaker.
- Cable under plaster and under tile — only in corrugated conduit, with free play. So you can replace the wire without destroying the finish.
- A voltage stabilizer at the entrance and a 30 mA RCD on the bathroom and the water heater — mandatory positions. Balcony — only weatherproof.
- Don't economise on the consumer unit. 300 GEL of difference is worth less than any piece of hardware in the apartment.